Again, what is that?
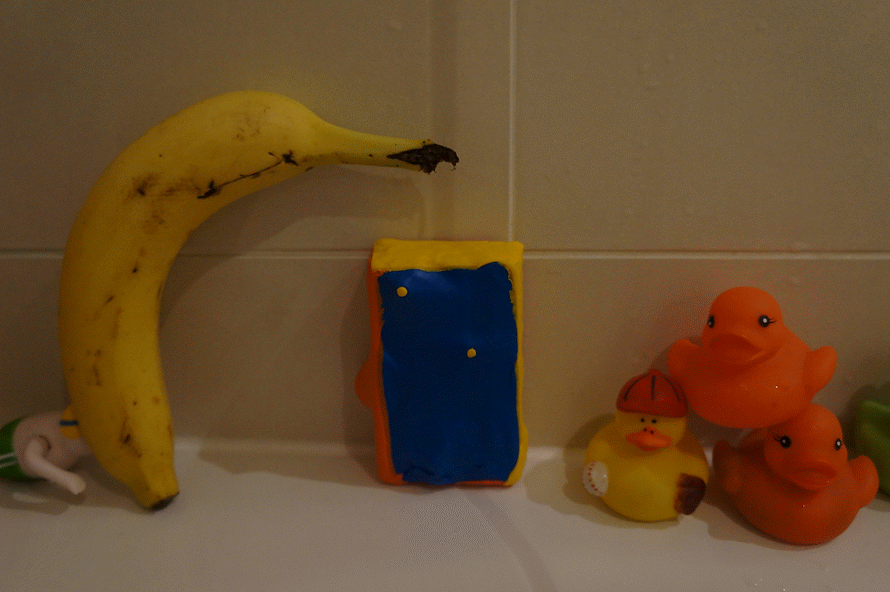
The ShowerPi Mini is a recording device you can take to the shower. It’s based on a Raspberry Pi micro computer. You can take it into the shower with you, record your songs and thoughts and receive the recordings immediately in your email.
Okay, but why?
We live in an amazing time in history where you can make your own things – yet most of us choose to use the things we are given rather than the things we can create. Your phone or even your chair architecture determines your behavior, and changing them will change your behavior and even your ideas. In my case, my best ideas come to me while taking a shower – and by the time I’m finished I don’t remember my idea of “How to end world hunger with frogs”.
That’s where ShowerPi kicks in!
Okay, okay. But how do I make one?
Glad you asked!
To make your own ShowerPi Mini, you will require the following items. If you are in a hurray and don’t care about the cost – go to the Amazon list where you can expect things to arrive real quick. If you are strap on cash but don’t mind waiting a few weeks for delivery check out the right column – where you can save quite a bit!
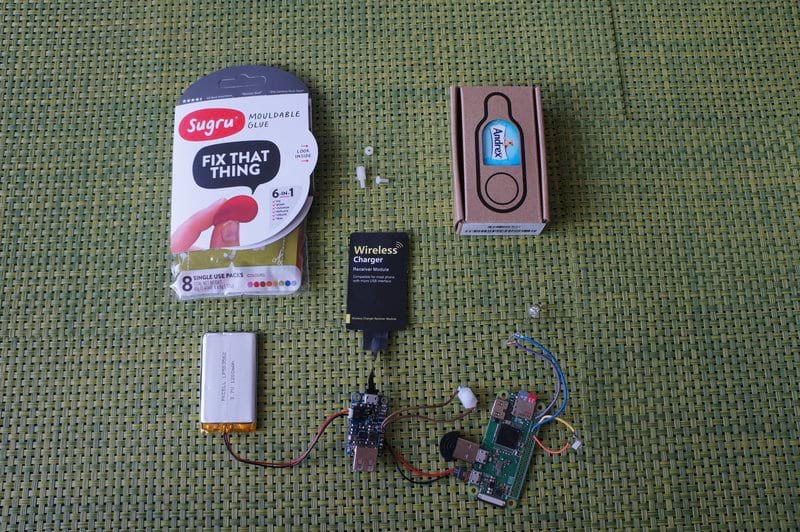
| Item | Fancy option | Cheaper option |
|---|---|---|
| LiPo Battery (3.7V 1200mAh) | $13 | $2 |
| Raspberry Pi 0 W | $23 | $10 |
| 16 GB class10 microSD card | $10 | $8 |
| USB mic | $3 | $3 |
| Charging module | $17 | $3 |
| Wireless Charging module | $13 | $3 |
| Some wires | $4 | $2 |
| A led | $3 | $1 |
| 1 On Off Torch Push Button Switch – | $4 | $2 |
| 1 Tactile push button – | $6 | $1 |
| 4 “Sugru!” 5g packs – | $20 | $18 |
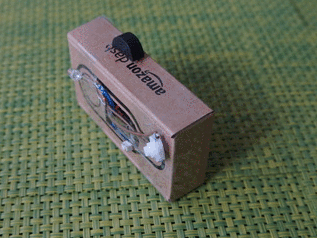
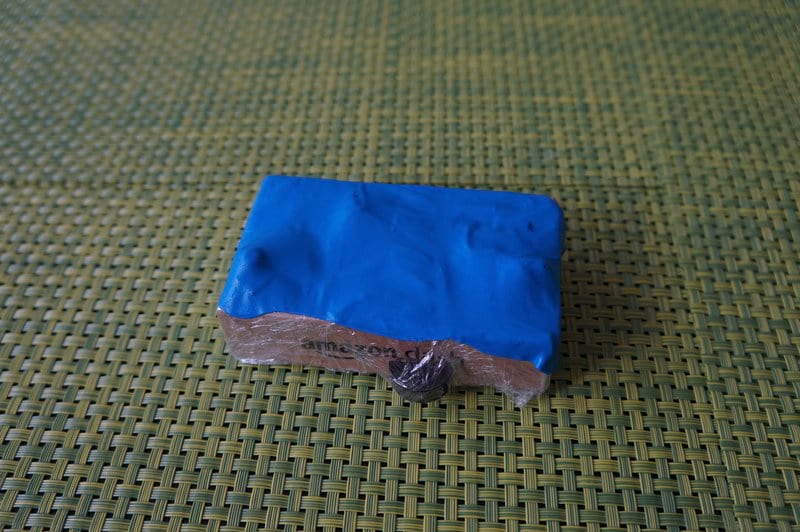
| A small box (Amazon Dash box is perfect) | – | – |
| Optional – M2.5 Nylon Spacer – For fitting | $10 | $5 |
| Total damage: | $126 | $42 * |
*The $42 is assuming you already have wires, can do without the Nylon spacers and looks at half the sugru cost as you only need half of it for the projet. When you buy a product using some of these links you are actually supporting this website.
Put it all together
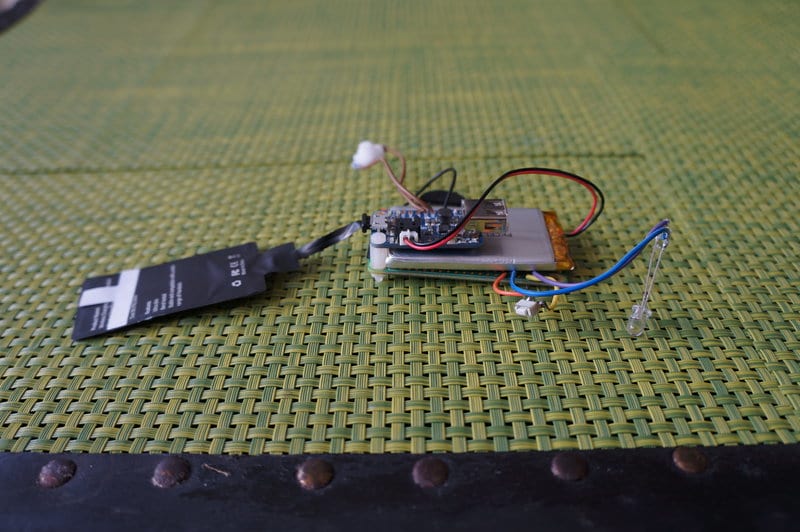
Use the spacer to position the power booster above the pi with enough room for the battery to fit perfectly in between.
I’ll add my soldering choices and rpi code here ASAP. Promise!
Box it
Depending on the box you chose, some adjustments may be required. I needed to cut USB openings for the USB mic and the Micro USB charging module.
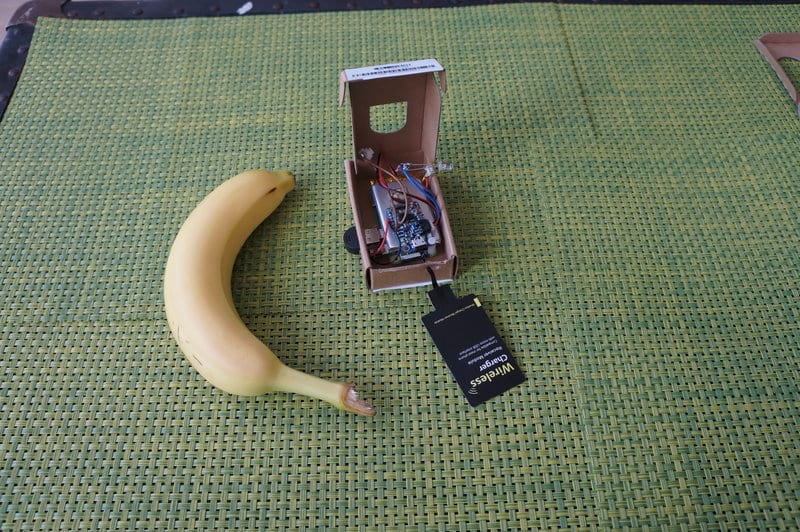
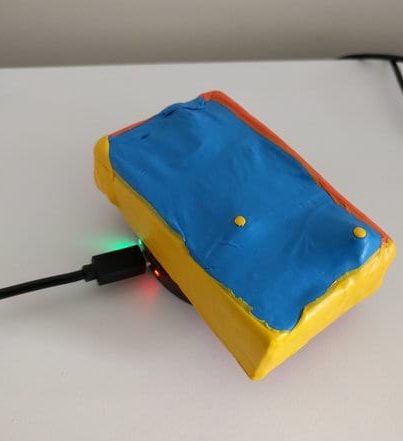
After boxing, I used some tape to make sure everything stays exactly in place. You may chose to use something fancier like hot glue or blue tack. After that, I covered the whole thing with one layer of saran tape, for protection.
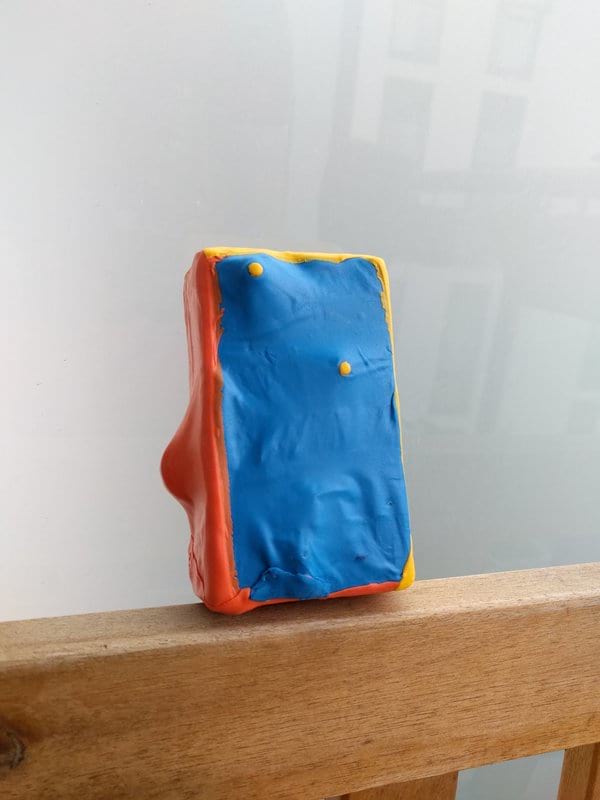
Sugru!
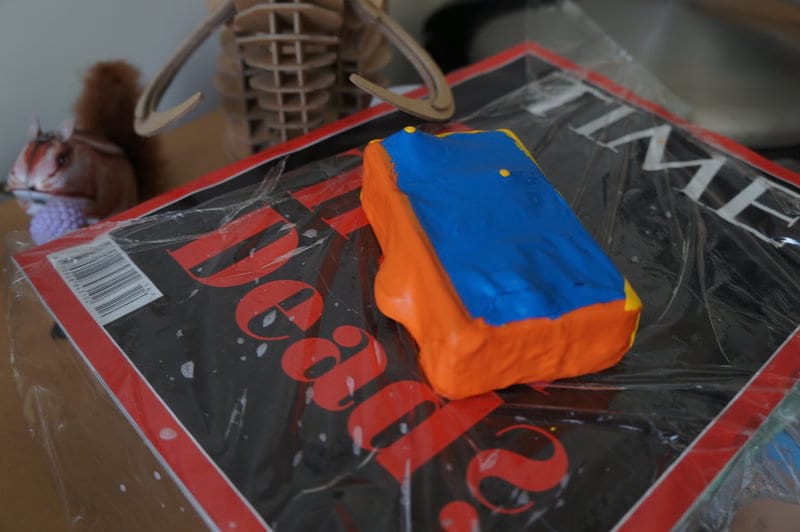
This is the fun part – coating the device container box with some water resistant sugru.
I ended up only using 4 packets, but you might want to use more.
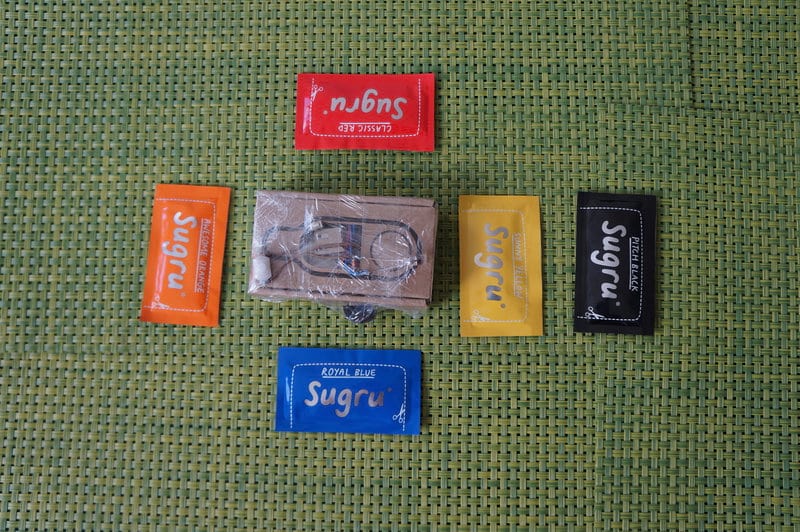
If you never used sugru before you might want to read up on it – keep your working surface very clean, and use soapy water on the surface and working tools to avoid sugru stickage.
Looking back – one thing I’ll do different next time is using a knife to cut the sugru edges nicely. Another idea is to blend a few colors together to create a jackson pollock like design.
That’s it
If you have any questions, or if you need any help making your own – write me a line below.